Netlify starter that's made for customization with a flexible content model, component library, visual editing and Git Content Source.
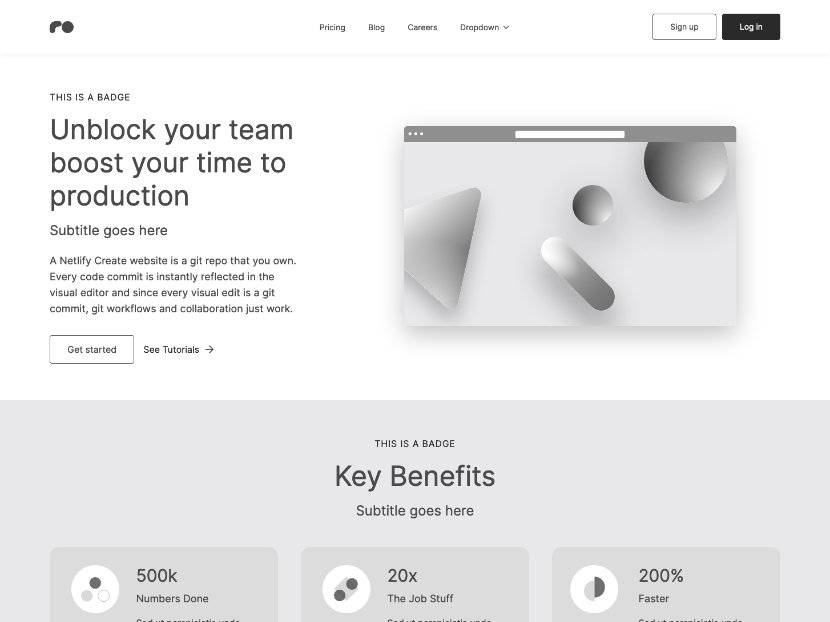
⚡ View demo: https://content-ops-starter.netlify.app/
- Deploying to Netlify
- Develop with Netlify Visual Editor Locally
- Building for production
- Setting Up Algolia Search
- Next Steps
- Support
If you click "Deploy to Netlify" button, it will create a new repo for you that looks exactly like this one, and sets that repo up immediately for deployment on Netlify.

The typical development process is to begin by working locally. Clone this repository, then run npm install in its root directory.
Run the Next.js development server:
cd content-ops-starter
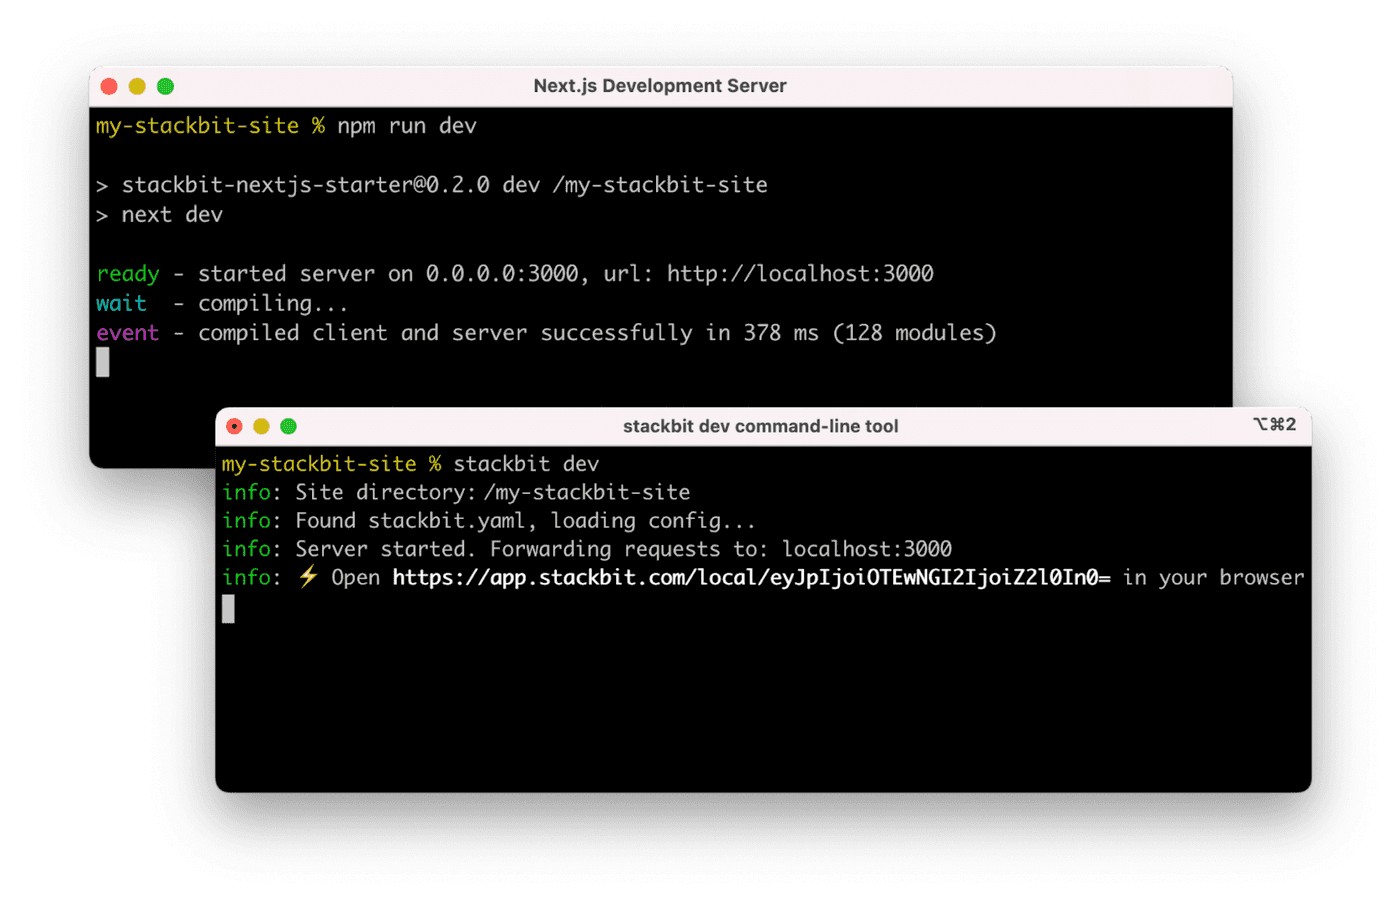
npm run devInstall the Netlify Visual Editor CLI. Then open a new terminal window in the same project directory and run the Netlify visual editor dev server:
npm install -g @stackbit/cli
stackbit dev
This outputs your own Netlify visual editor URL. Open this, register, or sign in, and you will be directed to Netlify's visual editor for your new project.
To build a static site for production, run the following command
npm run buildThis starter includes Algolia search integration. To set it up:
- Create an Algolia account
- Create a new application and index
- Set the following environment variables:
NEXT_PUBLIC_ALGOLIA_APP_ID- Your Algolia application IDNEXT_PUBLIC_ALGOLIA_SEARCH_API_KEY- Your Algolia search-only API keyNEXT_PUBLIC_ALGOLIA_INDEX_NAME- Your index name
Here are a few suggestions on what to do next if you're new to Netlify visual editor:
If you get stuck along the way, get help in our support forums.